Since graduating college almost a year ago, the most writing I’ve done is composing emails and filling out spreadsheets. So I thought I’d get back in the habit by combining two things I love - writing and cooking (and baking)! I’m also hoping that blogging will inspire my boyfriend and I to start creating more interesting and adventurous meals in our little Elmwood kitchen. Last weekend we had dinner with friends and I was in charge of dessert. Since spring produce is out in full force now, I envisioned a beautiful, golden strawberry rhubarb pie. Well, not to brag or anything, but it turned out to be pretty freakin delicious.
My go-to pie crust recipe is super simple - just flour, a little salt and sugar, and a lot of butter…of course. The crust recipe is from Smitten Kitchen, one of my favorite food blogs. She discusses the merits of all-butter crust (no shortening, vodka, eggs, nothing extra) and I have to agree, it never fails and is always soo flaky. The key is to keep the butter really cold, and to keep it a little chunky - you’ll see what I mean in a minute.
But first things first, here’s a list of ingredients:
Crust (from Smitten Kitchen), makes 2 crusts
2.5 cups all-purpose flour
1 tablespoon sugar
1 teaspoon salt
2 sticks (or 1 cup) of unsalted butter, very cold (I like to freeze it and take it out about 45 minutes to 1 hour before I’m ready to make the crust. It should be barely soft around the edges by the time you’re ready to use it.)
1 cup ice water
One egg, beaten
Pie filling (slightly adapted from Smitten Kitchen)
3.5 cups (1.5 pounds) rhubarb, trimmed, cut in 1/2 inch thick slices
3.5 cups (16 oz) strawberries, cut in half or quarters depending how large they are
1/2 cup brown sugar
1 lemon, zested and juiced
1/4 teaspoon salt
To make the crust:
Whisk together flour, salt, and sugar. Cut each stick of butter into small pieces (1/4 inch or so) and add them to the dry mixture. Here, I like to just use my hands to combine the butter into the dry ingredients - you can certainly use a pastry blender if you prefer. Using either your hands or the pastry blender, work the butter into the mixture until the butter pieces are the size of peas (some can and should be a little bigger). It’s ok to still have some of the dry mixture that’s not totally combined into the butter.
This is where I fail as a first time blogger…I didn’t take a picture of this step. The mixture should be very rough and shaggy, with lots of butter pieces hanging out. At this point, you’ll want to have your ice water ready. Slowly drizzle about 1/2 cup of it over the flour/butter mixture, then use your hands to carefully mix the dough. It should just barely start coming together in a ball. If there are still a lot of crumbs at the bottom of the bowl, keep adding a little water until it comes together. If it's wet and sticky, you've added too much water, but no worries, just sprinkle a little more flour over it. You don’t want to over-mix it otherwise it won’t be as tender and buttery.
Once the dough comes together, split it into 2 equal balls, one for the top crust and one for the bottom. Wrap each ball in plastic wrap, then flatten it out a little bit so it’s about 1 or 1.5 inches thick - this will just make it easier to roll out later.
Refrigerate the dough for at least 2 hours, or freeze it for up to 2 weeks wrapped tightly in plastic wrap.
While the dough is chilling, make the filling! Oh jeez I’m rhyming. Anyway…
Pie filling:
In a large bowl, combine rhubarb, strawberries, lemon juice, lemon zest, salt, and sugar. The amount of sugar I listed (1/2 cup) will make for a pretty tart pie, so if you prefer yours on the sweeter side then you can add another 1/3 cup…or even a full 1/2 cup more if you feel the need. Ok, here’s the part where I remembered to start taking pictures!

Rhubarb and brown sugar

Mountain of strawberries
Once those ingredients are all combined, I recommend letting it sit and macerate for at least an hour, during which time I went shopping, but you could be more productive and wash some dishes or something boring like that.
Soo back to maceration...it means that lots and lots of fruit juice will pool at the bottom of the bowl. A lot of pie recipes have you add cornstarch or tapioca to thicken the filling and make it more firm once baked. I'm not a fan of that, I like a little juiciness to my pie but not tooo much. To avoid that, gently pour the juice from the bottom of the bowl of fruit into a small saucepan or saute pan. Then turn your stove on to medium heat and let the juice bubble and simmer until it's thickened and reduced by about 1/3, about 5 minutes.

Juice, reducing on the stove
Then, pour the thickened juice back into your fruit mixture and slowly stir it in. It'll probably be almost jelly-like...I think I reduced mine too much because it was incredibly sticky, but it worked out ok anyway.
Ok. So. Fruit and reduced juice combined. Now it's time to roll out the nice cold dough! Make sure you use a liberally floured surface for rolling. But first you should preheat your oven to 400 degrees so it's all ready to go.

Check it out, you can see the pieces of butter in the dough...mmm
Once you roll out the bottom crust, carefully fold it in half or in quarters and set it in the pie pan, unfold it, and trim the edges so they only hang about 1/2 inch beyond the rim of the pan. Then add the filling, roll out the top crust, and trim the top crust as well. Press the top and bottom edges together and crimp them using your fingers or a fork. Use a knife to add a few slits in the top crust; this will allow steam to escape during the baking process.
Almost there, I promise! Beat one egg in a small bowl and add just a few drops of water. Then use a pastry brush or a paper towel dipped in the egg mixture if you don't have a fancy pastry brush...not that I would ever do something so unprofessional : ). The egg will just make the crust more brown and shiny once it's baked. Check out the before and after:

Before, brushed with egg mixture
Bake the pie at 400 degrees for 20 minutes, then reduce the temperature to 350 and bake for another 25 to 30 minutes...or 20 minutes if your oven is crazy hot like mine! Ideally it will be bubbling and golden brown on top.

After, golden and beautiful!
Transfer the pie to a cool area and let it rest for at least 2-3 hours. This will allow it to set and not be as juicy and messy as it might be if you cut into it right away. You'll still get a little bit of juice though.

So pink and pretty!
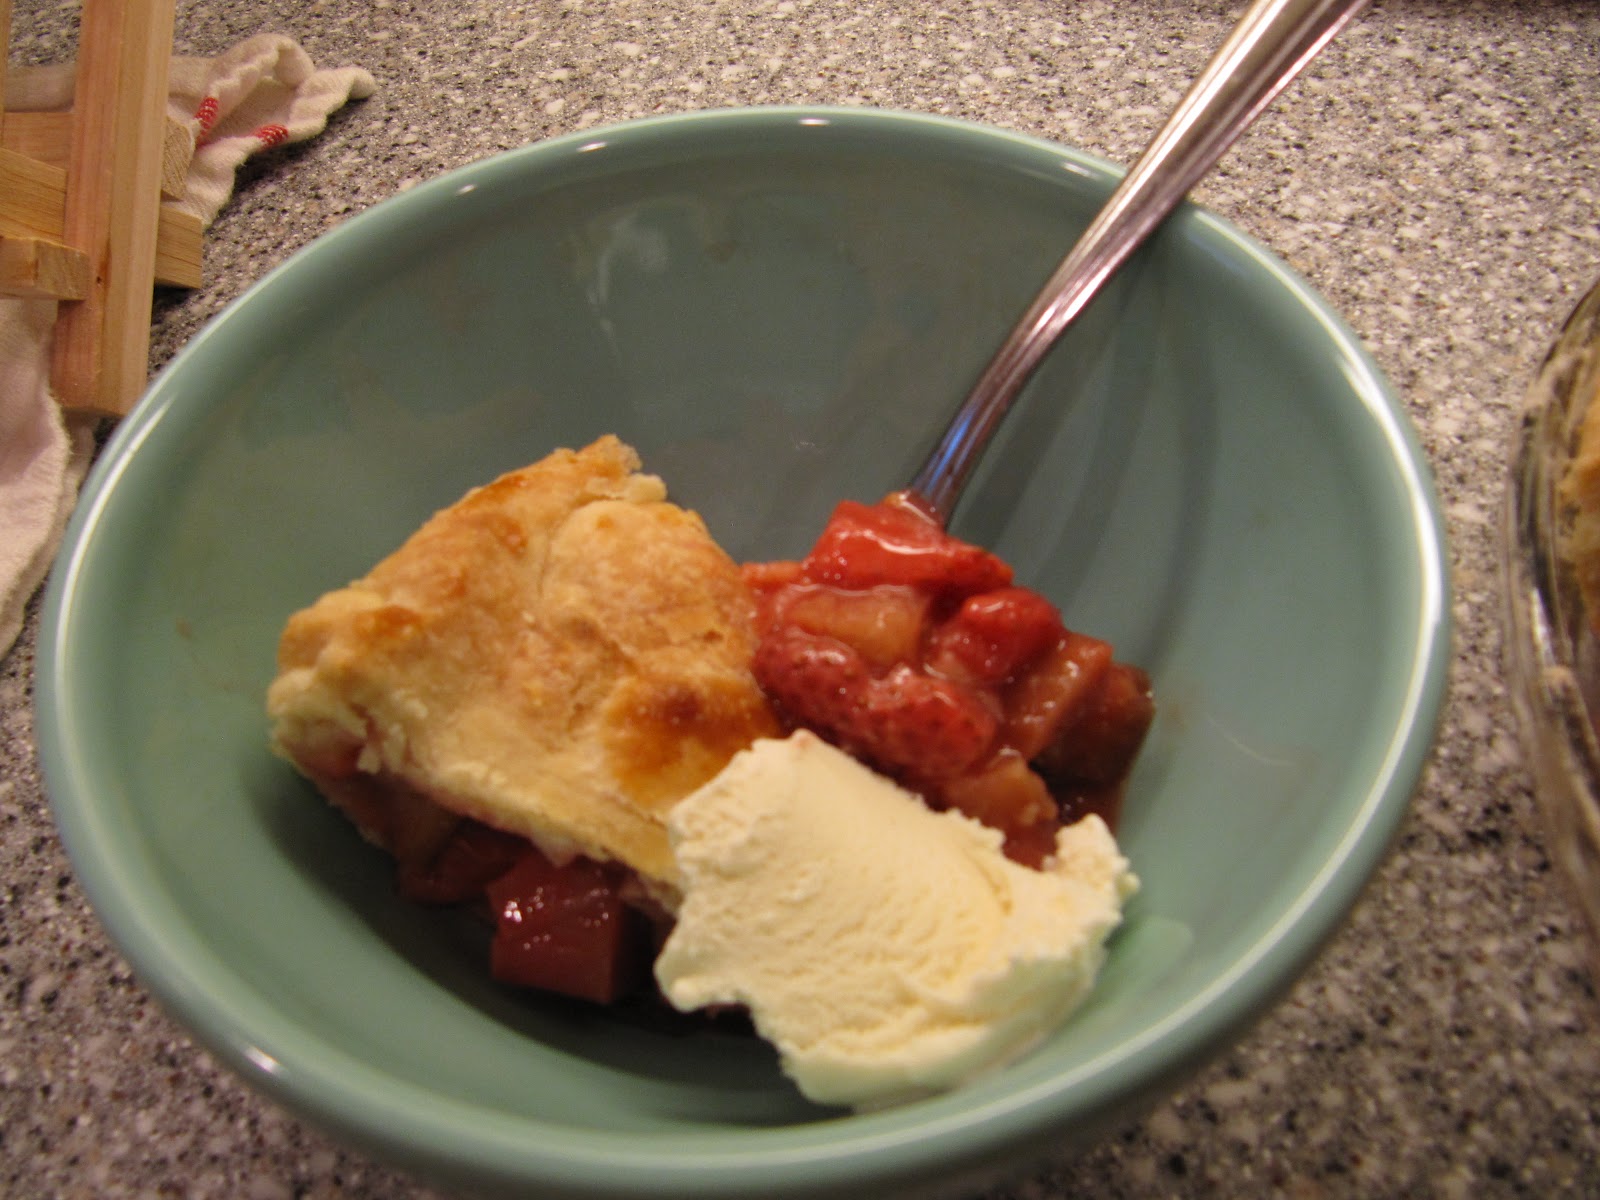
Definitely best served with vanilla ice cream, or whipped cream if that's your thing
Ok, so go make some pie now! I think I probably made it sound more complicated than it is. It does take some time, but it's totally worth it. Plus you can eat the leftovers for breakfast! Like I said, totally worth it.
In case you're not into making pie or reading recipes, I'll leave you with a picture of my cat sleeping and generally being adorable.

Up next: a dinner recipe for those nights when you're feeling lazy!
No comments:
Post a Comment